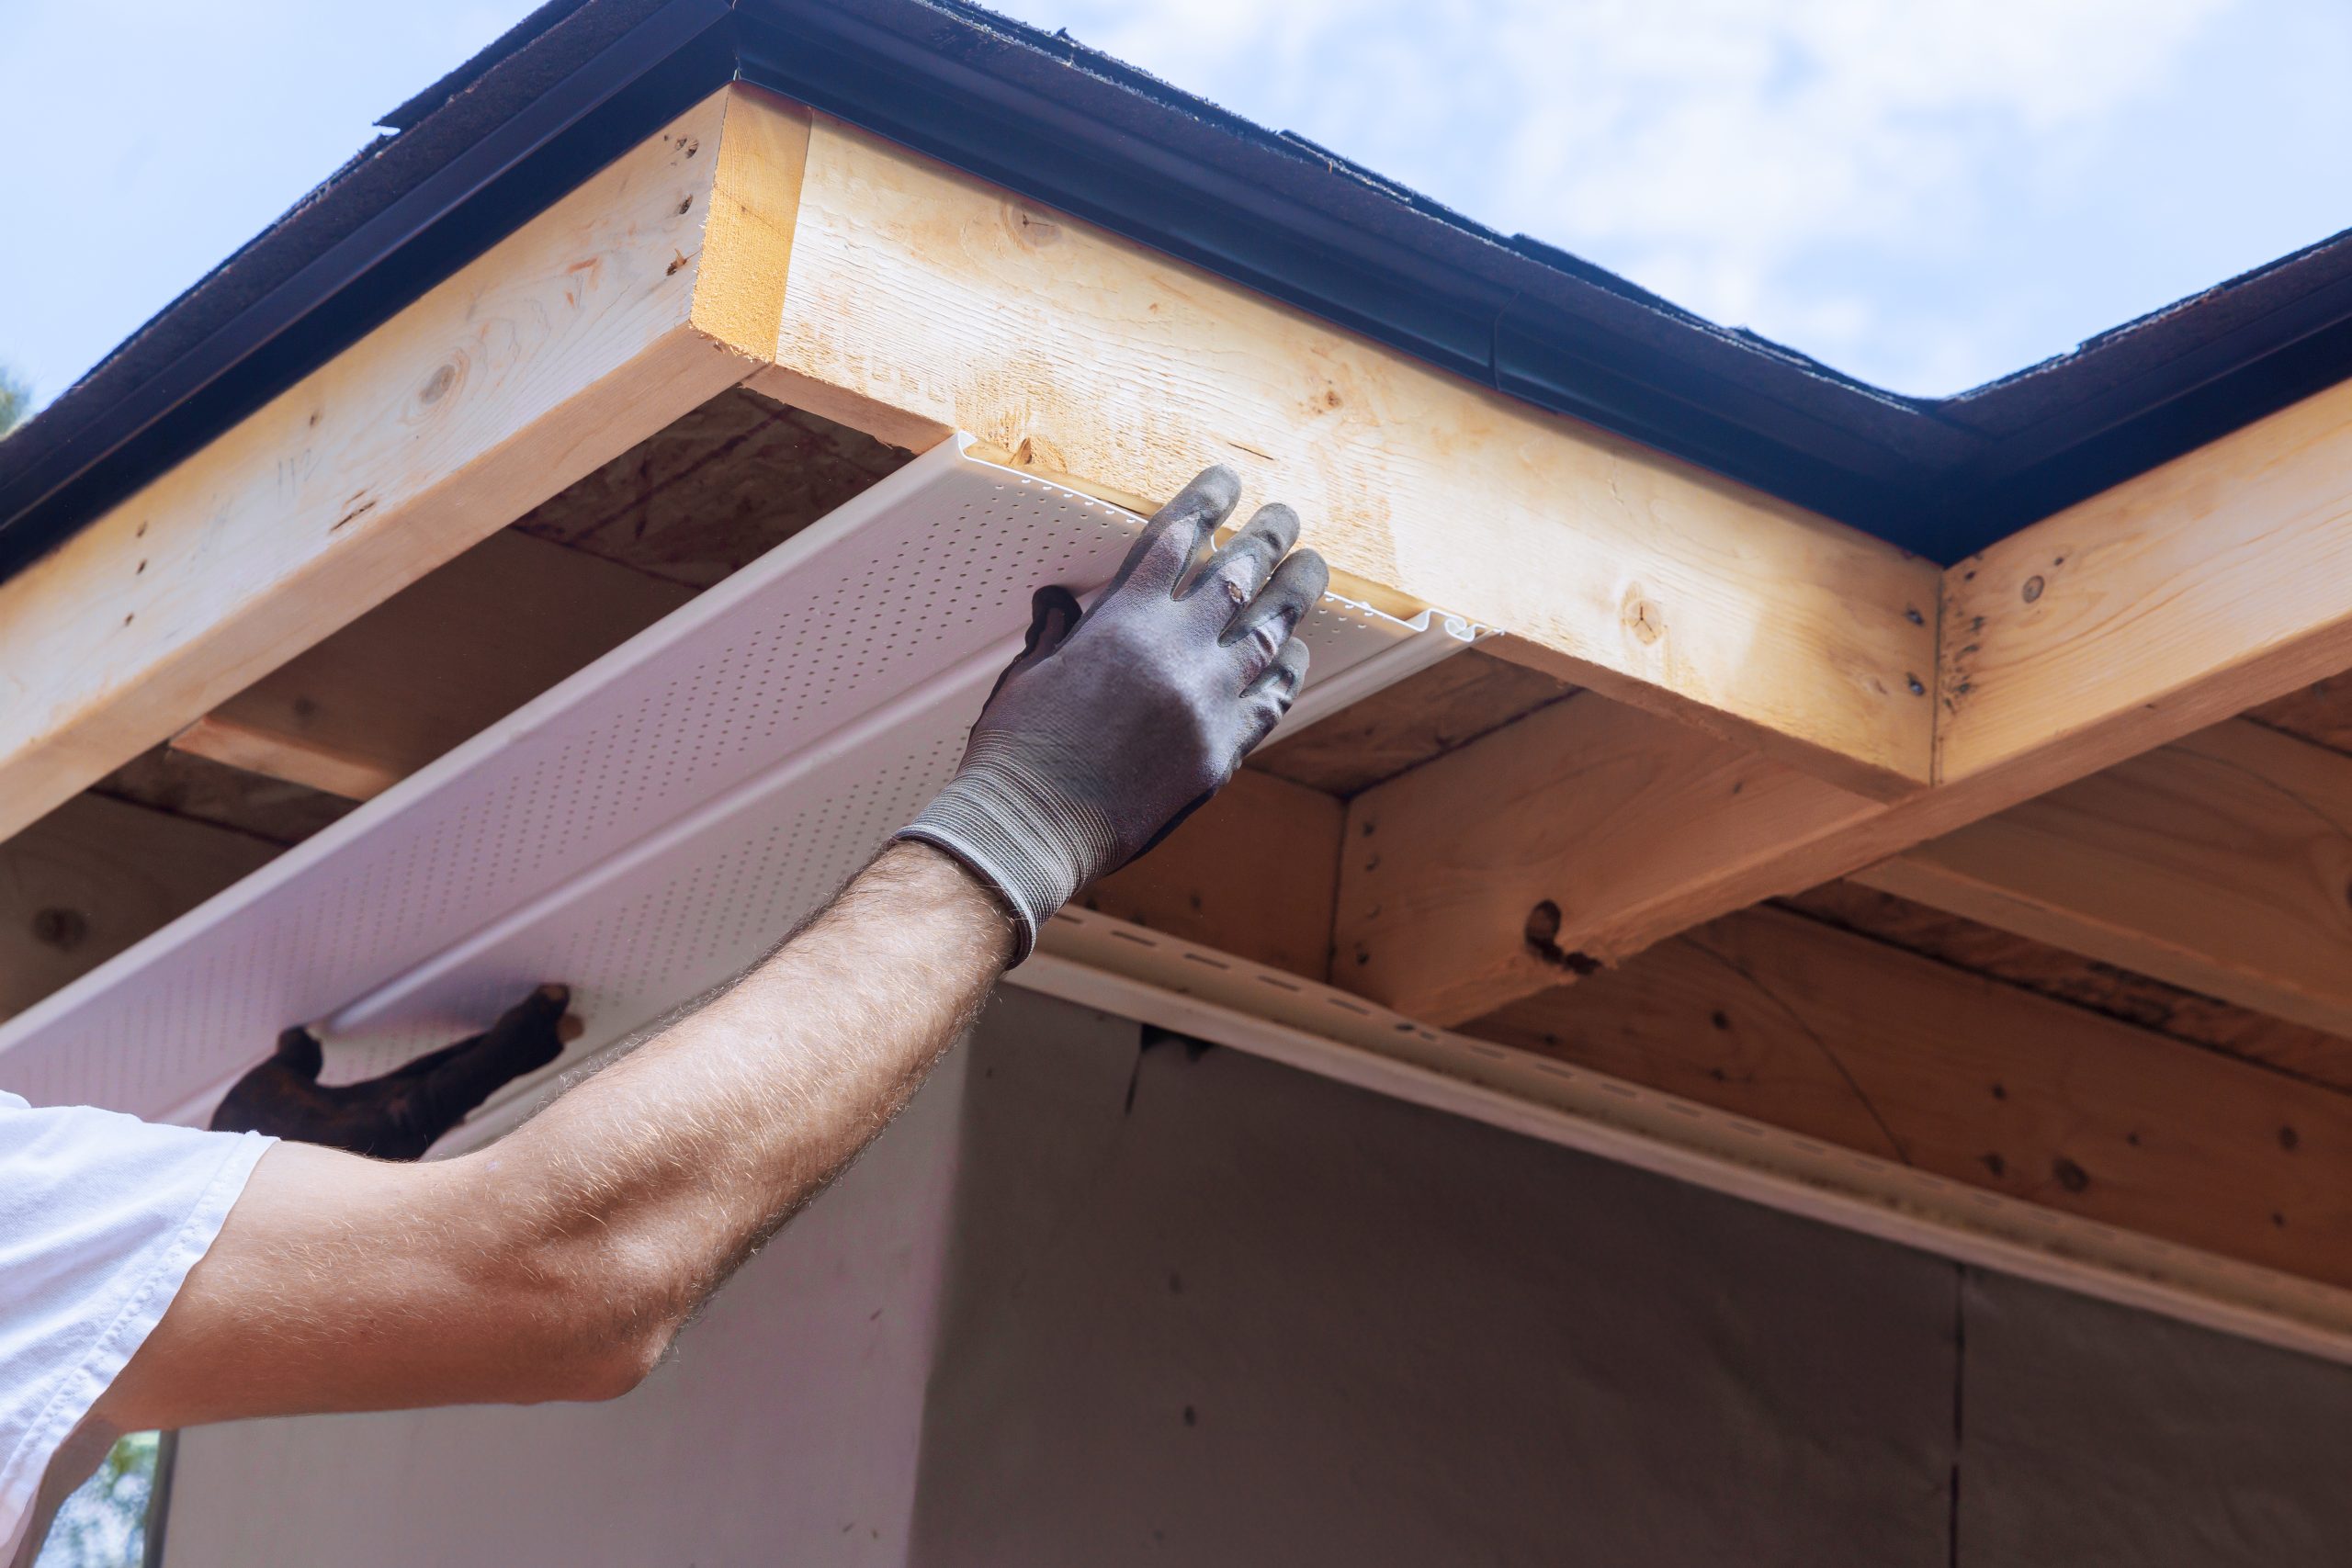
Installing gutter guards is a great way to protect your home from water damage and minimize the amount of maintenance required to keep your gutters functioning properly. Whether you’re installing them yourself or preparing for a professional installation, having the right tools is essential for a successful job. Here are five must-have tools you need to install gutter guards effectively.
1. Ladder
A sturdy ladder is one of the most essential tools for installing gutter guards. Since gutters are located along the roofline of your home, you’ll need a ladder that allows you to reach them safely. When choosing a ladder, make sure it’s tall enough for the job without requiring you to stand on the top rungs, which can be dangerous. An extension ladder is ideal for most homes, especially if you have a two-story house.
To ensure safety, position the ladder on a stable surface, and consider using a ladder stabilizer to prevent it from leaning against the gutters, which could cause damage. Always follow proper safety precautions when working at heights, and never attempt to install gutter guards alone—having someone to assist can provide extra stability and support.
2. Measuring Tape
Before you start installing gutter guards, it’s important to measure your gutters accurately. A measuring tape will help you determine the length and width of the gutters, ensuring you purchase the right size gutter guards for your home. Most gutter guards are available in standard sizes, but it’s always a good idea to double-check your measurements to avoid buying guards that are too small or too large.
Additionally, measuring the length of the gutters will help you calculate how many gutter guards you need to cover the entire system. Accurate measurements can save you time and money by preventing the need for multiple trips to the store.
3. Tin Snips
Tin snips are an indispensable tool for cutting gutter guards to fit the exact length of your gutters. Gutter guards often come in long sections that may need to be trimmed to accommodate the specific dimensions of your gutter system. Tin snips are designed to cut through metal, so they’re perfect for trimming aluminum or steel gutter guards.
When using tin snips, make sure to cut the guards slowly and carefully to avoid jagged edges, which can make the guards difficult to install and potentially hazardous. Wearing protective gloves can also prevent injury while cutting and handling sharp metal.
4. Screwdriver or Drill
A screwdriver or drill is necessary for securing the gutter guards to the gutters. Most gutter guards require screws or clips to hold them in place, and using a power drill can make the process faster and easier. Be sure to choose the appropriate screws or fasteners based on the type of gutter guards you’re installing.
A cordless drill is a convenient option, as it allows for mobility without the hassle of cords. If you’re using a manual screwdriver, be prepared for a bit more time and effort. Regardless of the tool, ensure that the screws are securely fastened to prevent the gutter guards from shifting during heavy rain or strong winds.
5. Work Gloves
While installing gutter guards, you’ll be handling sharp materials and working at heights, so it’s crucial to protect your hands. Sturdy work gloves provide protection from cuts, scrapes, and blisters while ensuring a better grip on tools and materials. Opt for gloves that offer a good balance between protection and dexterity, allowing you to work efficiently without sacrificing safety.
Conclusion
Installing gutter guards can be a relatively simple DIY project if you have the right tools. A ladder, measuring tape, tin snips, screwdriver or drill, and work gloves are essential for a successful installation. With these tools in hand, you’ll be well on your way to protecting your home from water damage and reducing the need for frequent gutter maintenance.

