Regular gutter inspections are crucial for maintaining the structural integrity of your home. Damaged gutters can lead to serious issues such as water damage, foundation problems, and landscape erosion. Knowing how to inspect your gutters for damage like a pro can help you catch potential problems early and prevent costly repairs. Here’s a step-by-step guide to help you conduct a thorough gutter inspection.
Safety First
Before you start inspecting your gutters, ensure you have the proper safety equipment. Use a sturdy, extendable ladder with a stabilizer to prevent it from leaning against the gutters directly. Wear gloves to protect your hands from sharp debris and safety glasses to shield your eyes from dirt and debris.
Step 1: Visual Inspection from the Ground
Start by conducting a visual inspection from the ground. Walk around your home and look for visible signs of damage. Pay attention to the following:
- Sagging Gutters: Sagging indicates that the gutters may be clogged with debris or that the brackets are loose or damaged.
- Rust or Corrosion: This is common in older metal gutters and can lead to leaks.
- Cracks or Splits: Even small cracks can expand over time and cause significant damage.
- Peeling Paint or Mold: These are signs of water damage and can indicate that the gutters are not draining properly.
- Pooling Water: Water pooling around the foundation of your home can indicate that the downspouts are not directing water away effectively.
Step 2: Close-Up Inspection from a Ladder
Once you’ve completed the ground inspection, it’s time to get a closer look. Set up your ladder on a stable, level surface and climb up to inspect the gutters more thoroughly.
- Check for Debris: Look inside the gutters for leaves, twigs, and other debris that could cause blockages. Use a small scoop to remove any buildup.
- Inspect the Seams: Pay close attention to the seams where sections of the gutter meet. These are common areas for leaks. Look for signs of rust, separation, or deterioration.
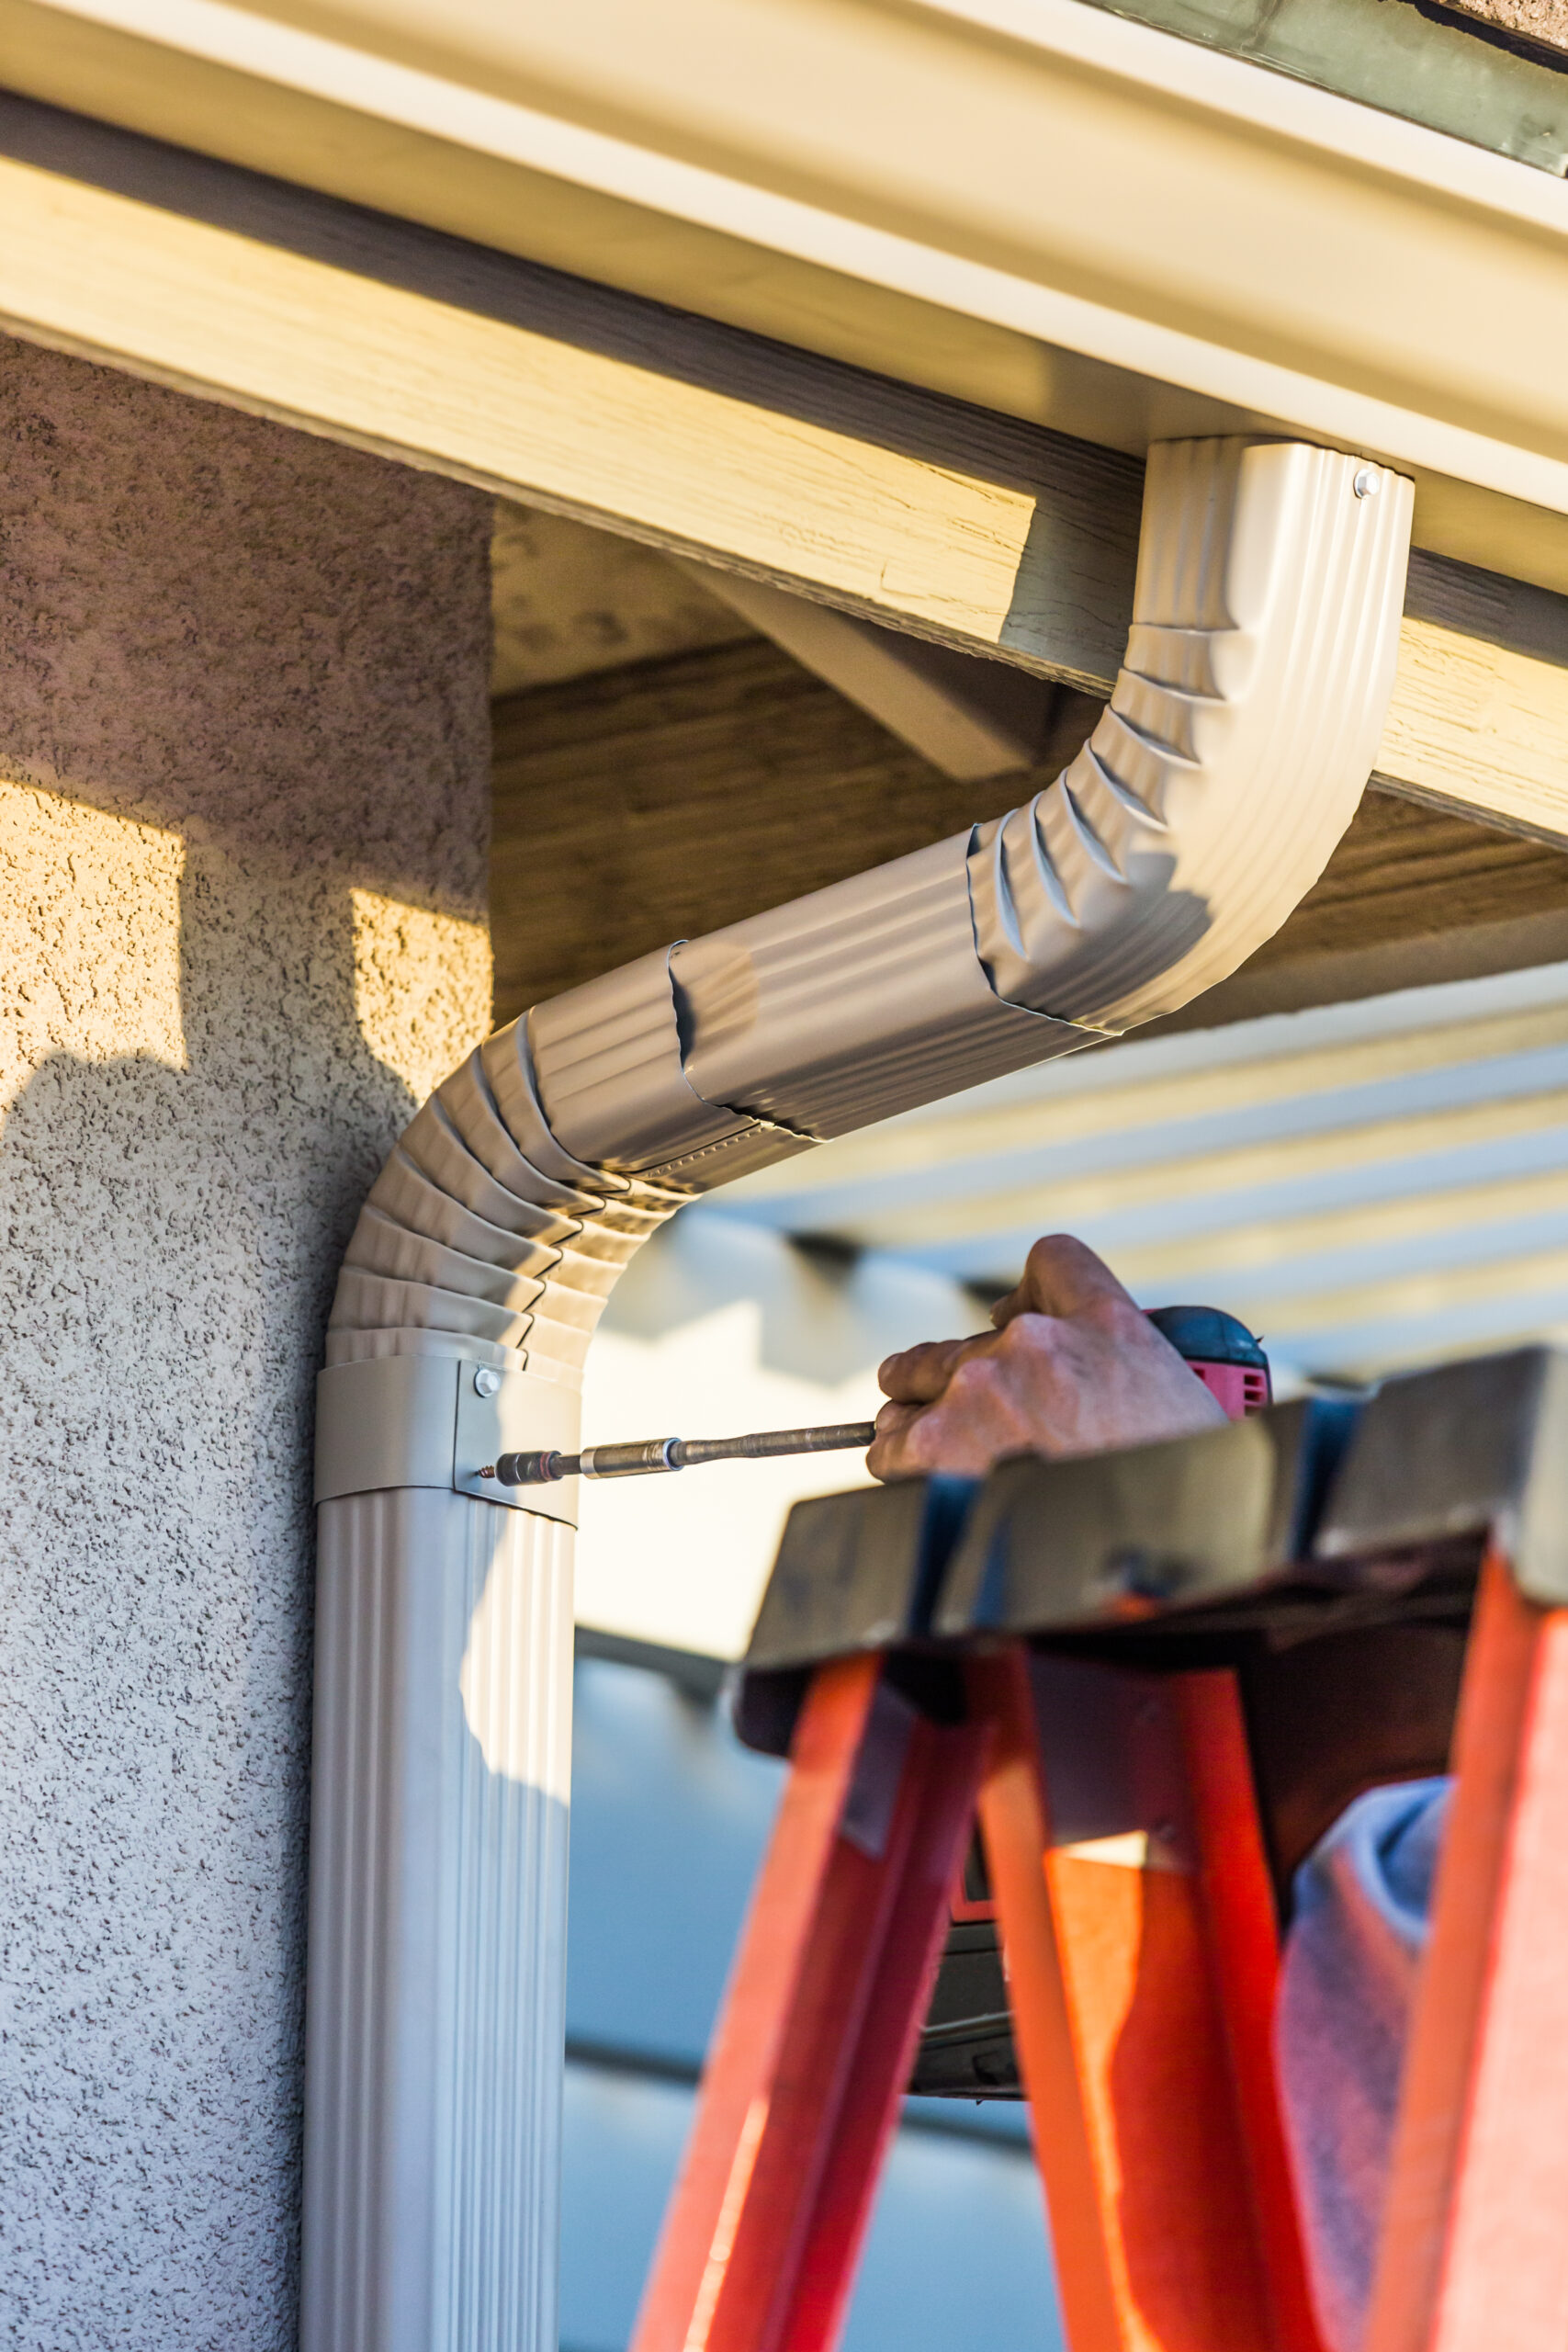
- Examine the Fasteners: Ensure that all brackets and screws are securely fastened and not missing or loose. Tighten any loose fasteners and replace missing ones.
- Look for Holes and Cracks: Check the entire length of the gutter for any holes or cracks. Small cracks can often be repaired with gutter sealant, but larger holes may require a section replacement.
- Assess the Downspouts: Ensure that downspouts are securely attached and free of obstructions. Use a garden hose to flush out any debris and confirm that water is flowing freely.
Step 3: Functional Test
After the visual and close-up inspections, perform a functional test to ensure your gutters are working properly.
- Water Test: Use a garden hose to run water through the gutters. Start at the end farthest from the downspout and work your way towards it. This will help you identify any areas where water is not draining properly.
- Check for Leaks: As you run water through the gutters, check for any leaks or drips underneath. Pay special attention to the seams and corners.
- Observe Water Flow: Ensure that water flows smoothly through the downspouts and is directed away from the foundation. If water is pooling near the foundation, consider extending the downspouts or installing splash blocks.
Step 4: Addressing Issues
If you identify any issues during your inspection, address them promptly to prevent further damage.
- Cleaning: Remove all debris from the gutters and downspouts. Regular cleaning, especially during the fall, can prevent many common problems.
- Sealing Leaks: Use gutter sealant to repair small cracks and leaks. Apply the sealant according to the manufacturer’s instructions and allow it to dry completely.
- Repairing or Replacing Sections: If you find significant damage, such as large holes or sections pulling away from the house, you may need to replace those parts of the gutter system.
- Professional Help: For extensive damage or if you’re unsure about making repairs yourself, consider hiring a professional gutter repair service.
Conclusion
Regularly inspecting your gutters for damage is an essential part of home maintenance. By following these steps, you can identify and address potential issues early, ensuring that your gutter system functions properly and protects your home from water damage. With a little diligence and the right tools, you can inspect your gutters like a pro and keep them in top condition year-round.

