Gutters are an integral part of a home’s roofing system, playing a crucial role in directing rainwater away from the house to prevent water damage. Whether you’re installing new gutters or replacing old ones, understanding the entire process from start to finish is essential. This comprehensive guide covers everything you need to know about gutter installation and replacement, including types of gutters, measurement, installation steps, material choices, common mistakes, and maintenance tips.
Understanding Different Types of Gutters
Choosing the right type of gutter is the first step in your gutter installation or replacement project. Each type has its own advantages and disadvantages, and the best choice depends on your specific needs and preferences.
1. K-Style Gutters
K-style gutters are the most common type of gutter found in residential homes. They are named for their profile, which resembles the letter “K” when viewed from the side.
- Advantages: They have a flat back and bottom, making them easy to install. They can hold more water than half-round gutters and are available in various materials and sizes.
- Disadvantages: Their shape makes them slightly more challenging to clean compared to half-round gutters.
2. Half-Round Gutters
Half-round gutters are semi-circular and are often used in historic homes or homes with a traditional aesthetic.
- Advantages: They have a classic look and are easier to clean because they have fewer crevices for debris to get stuck in.
- Disadvantages: They hold less water than K-style gutters and can be more expensive to install.
3. Box Gutters
Box gutters are usually found on commercial buildings but can be used in residential homes as well. They are built into the structure of the roof.
- Advantages: They can handle a large volume of water and are less visible from the ground.
- Disadvantages: They are more challenging to install and maintain, and any leaks can cause damage to the building structure.
4. Fascia Gutters
Fascia gutters are built into the fascia board of the roof and offer a streamlined look.
- Advantages: They provide a sleek appearance and can be very effective at channeling water.
- Disadvantages: They can be more difficult to clean and maintain.
5. Custom-Built Gutters
Custom-built gutters are tailored to fit unique roof designs and requirements.
- Advantages: They provide a perfect fit for any roof, regardless of its design complexity.
- Disadvantages: They are typically more expensive due to the customization required.
How to Measure for New Gutters
Accurate measurement is critical for the effective installation of gutters. Here’s a step-by-step guide to measuring for new gutters:
Step 1: Measure the Roofline
Use a measuring tape to measure the length of the roofline where the gutters will be installed. Note down the measurements accurately.
Step 2: Measure the Downspouts
Determine the number of downspouts needed and measure the height from the roofline to the ground where the downspouts will be placed.
Step 3: Calculate Gutter Slope
Gutters need a slight slope to direct water towards the downspouts. A slope of 1/4 inch for every 10 feet of gutter is generally recommended. Mark these slopes on your measurement notes.
Step 4: Account for Corners and Angles
Measure the length of any corners and angles where the gutters will need to bend. These measurements will help ensure you purchase the correct fittings and accessories.
Step 5: Add Extra for Overlap
When connecting gutter sections, you’ll need to overlap them slightly. Add an extra 10% to your total length measurement to account for this overlap.
Step-by-Step Guide to Installing Gutters
Installing gutters is a manageable project for those with DIY skills. Follow these steps for a successful installation:
Step 1: Gather Tools and Materials
- Tools Needed: Ladder, measuring tape, hacksaw, drill, level, chalk line, tin snips, caulking gun, and safety equipment.
- Materials Needed: Gutters, brackets, downspouts, end caps, gutter sealant, screws, and splash blocks.
Step 2: Prepare the Area
- Safety First: Ensure the ladder is stable and placed on a flat surface. Wear safety gear.
- Clean the Roofline: Remove any debris from the roofline to ensure a clean surface for attaching the gutters.
Step 3: Install Gutter Brackets
- Mark the Slope: Use a chalk line to mark the slope of the gutters.
- Attach Brackets: Install gutter brackets along the chalk line, spacing them about 2 feet apart. Ensure they follow the slope for proper water flow.
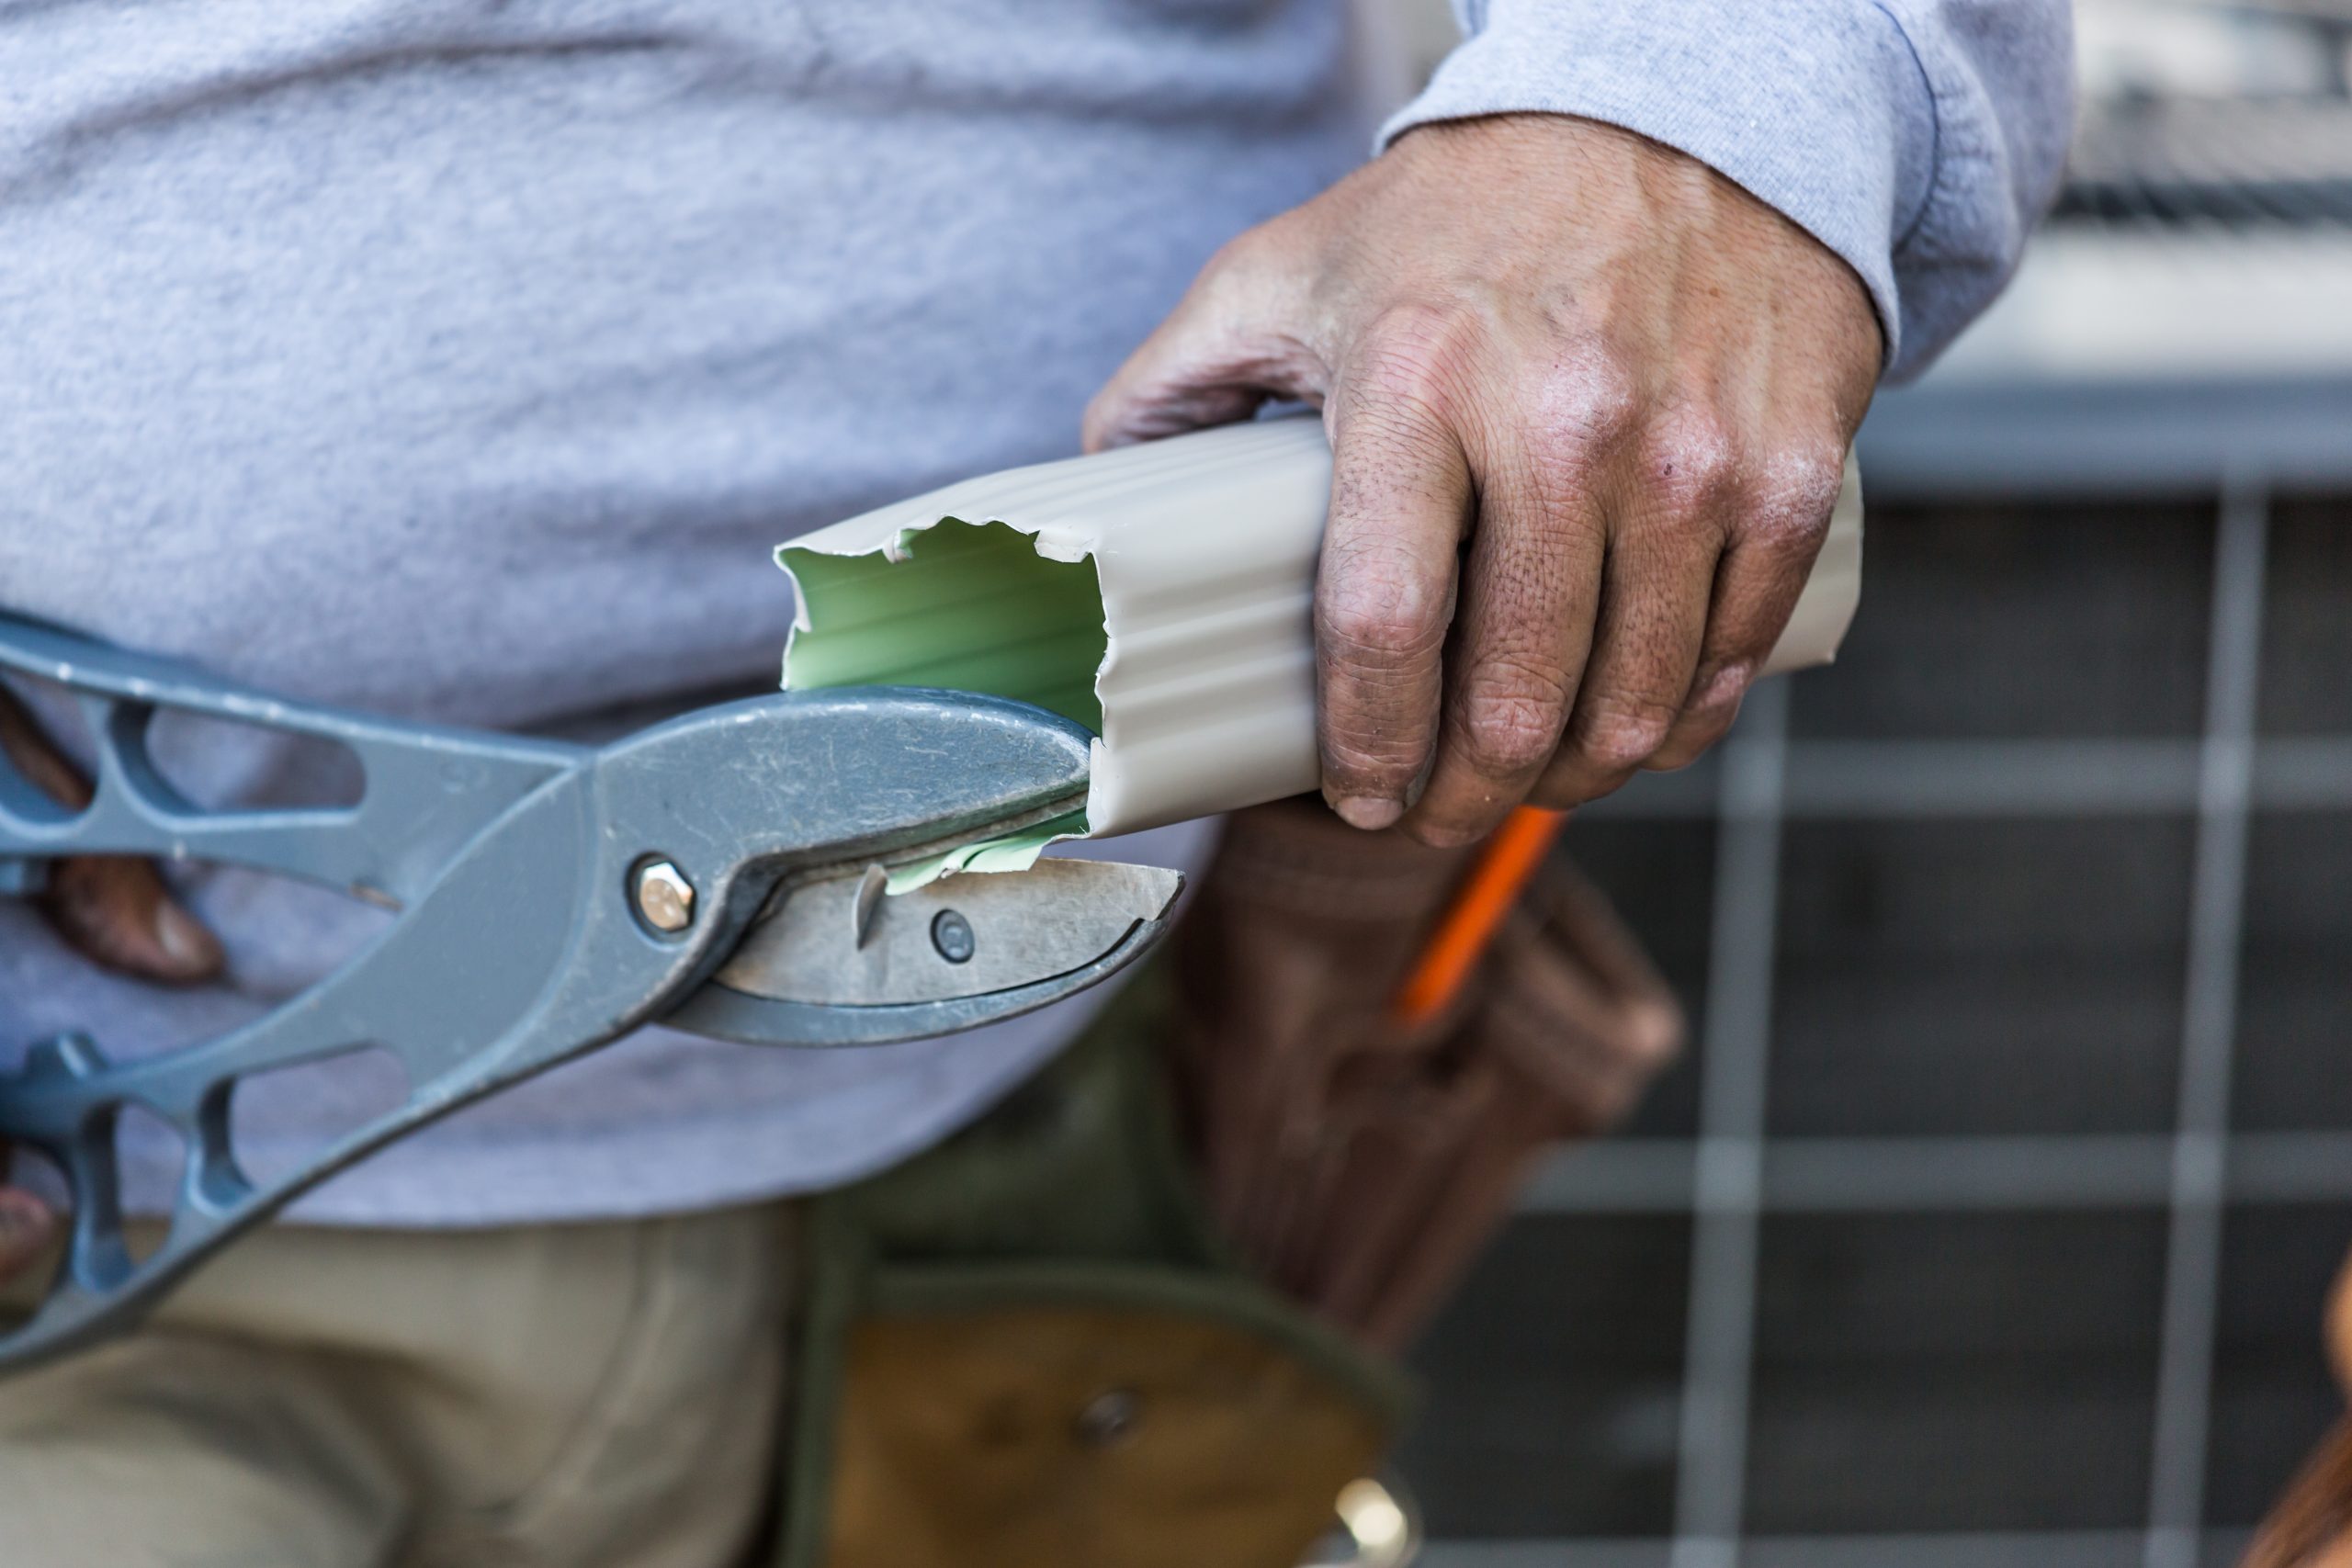
Step 4: Cut and Assemble Gutters
- Cut to Size: Measure and cut the gutters to the required lengths using a hacksaw or tin snips.
- Assemble Sections: Connect gutter sections using connectors and sealant. Ensure all joints are watertight.
Step 5: Install the Gutters
- Attach Gutters to Brackets: Secure the gutters to the brackets using screws. Ensure they are firmly attached and follow the marked slope.
- Install End Caps: Seal the ends of the gutters with end caps and gutter sealant.
Step 6: Install Downspouts
- Cut Downspouts to Length: Measure and cut the downspouts to the required lengths.
- Attach to Gutters: Secure the downspouts to the gutters using elbows and connectors. Ensure they direct water away from the foundation.
- Secure to House: Use brackets to attach the downspouts to the side of the house at regular intervals.
Step 7: Test the System
- Check for Leaks: Run water through the gutters to check for leaks. Seal any leaks with gutter sealant.
- Ensure Proper Flow: Ensure water flows smoothly through the gutters and downspouts.
Choosing the Right Materials for Your Gutters
Selecting the right materials for your gutters is crucial for their longevity and performance. Here’s a comparison of common gutter materials:
1. Aluminum
- Pros: Lightweight, rust-resistant, easy to install, available in various colors.
- Cons: Can be dented by heavy impacts, moderate cost.
2. Vinyl
- Pros: Affordable, easy to install, rust-proof.
- Cons: Less durable in extreme weather, can become brittle over time.
3. Steel
- Pros: Very durable, can handle heavy snow and ice.
- Cons: Prone to rust if not properly maintained, heavier and more challenging to install.
4. Copper
- Pros: Extremely durable, develops a patina over time that adds aesthetic value.
- Cons: Very expensive, requires professional installation.
5. Zinc
- Pros: Long-lasting, rust-resistant, low maintenance.
- Cons: Expensive, requires professional installation.
Common Mistakes to Avoid During Gutter Installation
Avoiding common mistakes during gutter installation can save you time and money in the long run. Here are some pitfalls to watch out for:
1. Incorrect Slope
- Mistake: Not ensuring a proper slope for water drainage.
- Solution: Use a level and chalk line to mark a consistent slope towards the downspouts.
2. Inadequate Support
- Mistake: Spacing brackets too far apart, leading to sagging gutters.
- Solution: Install brackets no more than 2 feet apart to provide adequate support.
3. Poorly Positioned Downspouts
- Mistake: Placing downspouts in ineffective locations.
- Solution: Position downspouts at corners and low points to ensure effective water drainage.
4. Using Incorrect Materials
- Mistake: Choosing materials that are not suited for your climate or home structure.
- Solution: Select materials that are durable and appropriate for your local weather conditions.
5. Ignoring Sealant
- Mistake: Failing to seal joints and connections properly.
- Solution: Use high-quality gutter sealant to ensure all joints are watertight.
When to Replace Your Gutters
Knowing when to replace your gutters can prevent costly water damage to your home. Here are signs that it’s time for a replacement:
1. Persistent Leaks
If you have patched leaks multiple times and they keep reappearing, it may be time for new gutters.
2. Sagging Gutters
Gutters that sag or pull away from the house indicate structural failure and need to be replaced.
3. Peeling Paint or Rust
Extensive peeling paint or rust spots suggest that the gutters are deteriorating and need replacement.
4. Mold or Mildew
The presence of mold or mildew around the foundation or exterior walls can indicate failing gutters that are not directing water away from the house effectively.
5. Water Damage
Water damage marks on the exterior walls or pooling water around the foundation are signs that the gutters are not functioning properly and need to be replaced.
Cost Considerations for Gutter Installation and Replacement
The cost of gutter installation and replacement varies depending on several factors. Here’s a breakdown of what you can expect:
1. Material Costs
- Aluminum Gutters: $6 to $12 per linear foot
- Vinyl Gutters: $3 to $5 per linear foot
- Steel Gutters: $8 to $10 per linear foot
- Copper Gutters: $15 to $25 per linear foot
2. Labor Costs
Labor costs can vary based on the region and the complexity of the job. On average, professional installation costs range from $5 to $10 per linear foot.
3. Additional Costs
- Downspouts: $5 to $8 per linear foot
- Brackets and Screws: $2 to $4 per bracket
- Gutter Guards: $7 to $10 per linear foot
4. Total Cost
For a typical home with 150 to 200 linear feet of gutters, the total cost of installation can range from $1,500 to $3,000, depending on the materials and labor costs.
Benefits of Hiring a Professional for Gutter Installation
Hiring a professional gutter installer offers several benefits, ensuring a high-quality installation that protects your home:
1. Expertise and Experience
Professionals have the knowledge and experience to install gutters correctly, preventing common mistakes and ensuring long-lasting performance.
2. Quality Materials
Professionals have access to high-quality materials and tools, ensuring your gutters are durable and effective.
3. Safety
Gutter installation can be dangerous, involving ladders and heights. Professionals have the necessary safety equipment and training to perform the work safely.
4. Comprehensive Services
Professional services include installation, repair, cleaning, and maintenance, providing a one-stop solution for all your gutter needs.
5. Warranties and Guarantees
Many professional gutter services offer warranties and guarantees on their work, providing peace of mind and financial protection.
DIY Gutter Installation: Pros and Cons
If you’re considering installing gutters yourself, weigh the pros and cons before making a decision:
Pros
- Cost Savings: DIY installation can save money on labor costs.
- Control: You have complete control over the project and can work at your own pace.
- Satisfaction: Successfully completing a DIY project can be very rewarding.
Cons
- Time-Consuming: Gutter installation can be a lengthy process, especially if you’re inexperienced.
- Risk of Mistakes: Without professional expertise, you’re more likely to make mistakes that can lead to costly repairs.
- Safety Risks: Working on ladders and roofs can be dangerous without proper safety equipment and training.
Maintaining Your New Gutters for Longevity
Regular maintenance is essential to ensure your gutters remain effective and last as long as possible. Here are some maintenance tips:
1. Regular Cleaning
Clean your gutters at least twice a year, in the spring and fall, to remove leaves, twigs, and other debris.
2. Inspect for Damage
Regularly inspect your gutters for signs of damage, such as leaks, rust, or sagging. Address any issues promptly to prevent further damage.
3. Check for Proper Flow
Ensure that water flows freely through the gutters and downspouts. Use a garden hose to test the system and check for any blockages.
4. Install Gutter Guards
Gutter guards can help keep debris out of your gutters, reducing the frequency of cleaning and preventing clogs.
5. Secure Loose Gutters
Check that all brackets and screws are secure and tighten any that are loose. This will help prevent sagging and ensure the gutters remain properly aligned.
Understanding Gutter Warranties and Guarantees
When investing in new gutters, understanding warranties and guarantees can provide peace of mind and financial protection. Here’s what to look for:
1. Manufacturer Warranties
- Coverage: Manufacturer warranties typically cover defects in materials and workmanship. Check the duration of the warranty and what specific aspects it covers.
- Limitations: Be aware of any limitations or conditions that may void the warranty, such as improper installation or lack of maintenance.
2. Installation Warranties
- Coverage: Installation warranties cover the quality of the installation work. If any issues arise due to poor installation, the contractor will address them at no additional cost.
- Duration: Check the length of the installation warranty and what specific aspects are covered.
3. Maintenance Requirements
- Compliance: To maintain the validity of warranties, you may be required to perform regular maintenance. Keep records of maintenance activities to provide proof if needed.
Conclusion
Gutter installation and replacement are essential tasks that protect your home from water damage. Understanding the different types of gutters, knowing how to measure and install them, choosing the right materials, and avoiding common mistakes can ensure a successful project. Regular maintenance and understanding warranties and guarantees will help keep your gutters in top condition, providing long-lasting protection for your home. Whether you choose to hire a professional or tackle the project yourself, this comprehensive guide has provided the information you need to make informed decisions and achieve the best results.